.svg)
Welcome to the first step of the implementation process with Nostra AI! Once the TXT record has been created and registered, the Nostra Customer Success team will start the implementation process to get your store on the Nostra platform and experience faster site speeds!
Please use this guide to add the TXT record to your DNS provider. This is a crucial step that is necessary to allow Nostra to act as a proxy to your domain, and thus being able to deliver speed optimizations.
CloudFlare Steps
1. Log in to the Cloudflare dashboard ↗ and select an account and domain.
2. Go to DNS > Records.
3. Select Add record.
4. Choose a record Type.
- Select TXT type
5. Complete the required fields, using the values provided by Nostra:
- Name: This value should follow a similar format to: cloudflare-verify
- Value: This value should follow a similar format to (all numbers): #########-###########
- TTL (Time to Live): The amount of time the server should cache information before refreshing. The default setting is 1 hour.
6. Select Save.
7. Inform Nostra that the record has been added to your DNS configuration
GoDaddy Steps
1. Sign in to your GoDaddy Domain Portfolio.
2. Select an individual domain to access the Domain Settings page.
3. Select DNS to view your DNS records.
.webp)
4. Select Add New Record and then select TXT from the Type menu.
5. Enter the details for your new TXT record.
- Name: The text string value for name - this value should follow a similar format to: cloudflare-verify
- Value: The text string for the record provided by Nostra.
- TTL (Time to Live): The amount of time the server should cache information before refreshing. The default setting is 1 hour.
6. Select Save to add your new record.
If your domain has Domain Protection, you'll need to verify your identity. If you've had 2-step verification (2SV) turned on for at least 24 hours, enter the code we sent via SMS, or enter the code from your authenticator app. Otherwise, enter the one-time password we sent to your registrant email address.
7. Inform Nostra that the record has been added to your DNS configuration
Shopify Steps
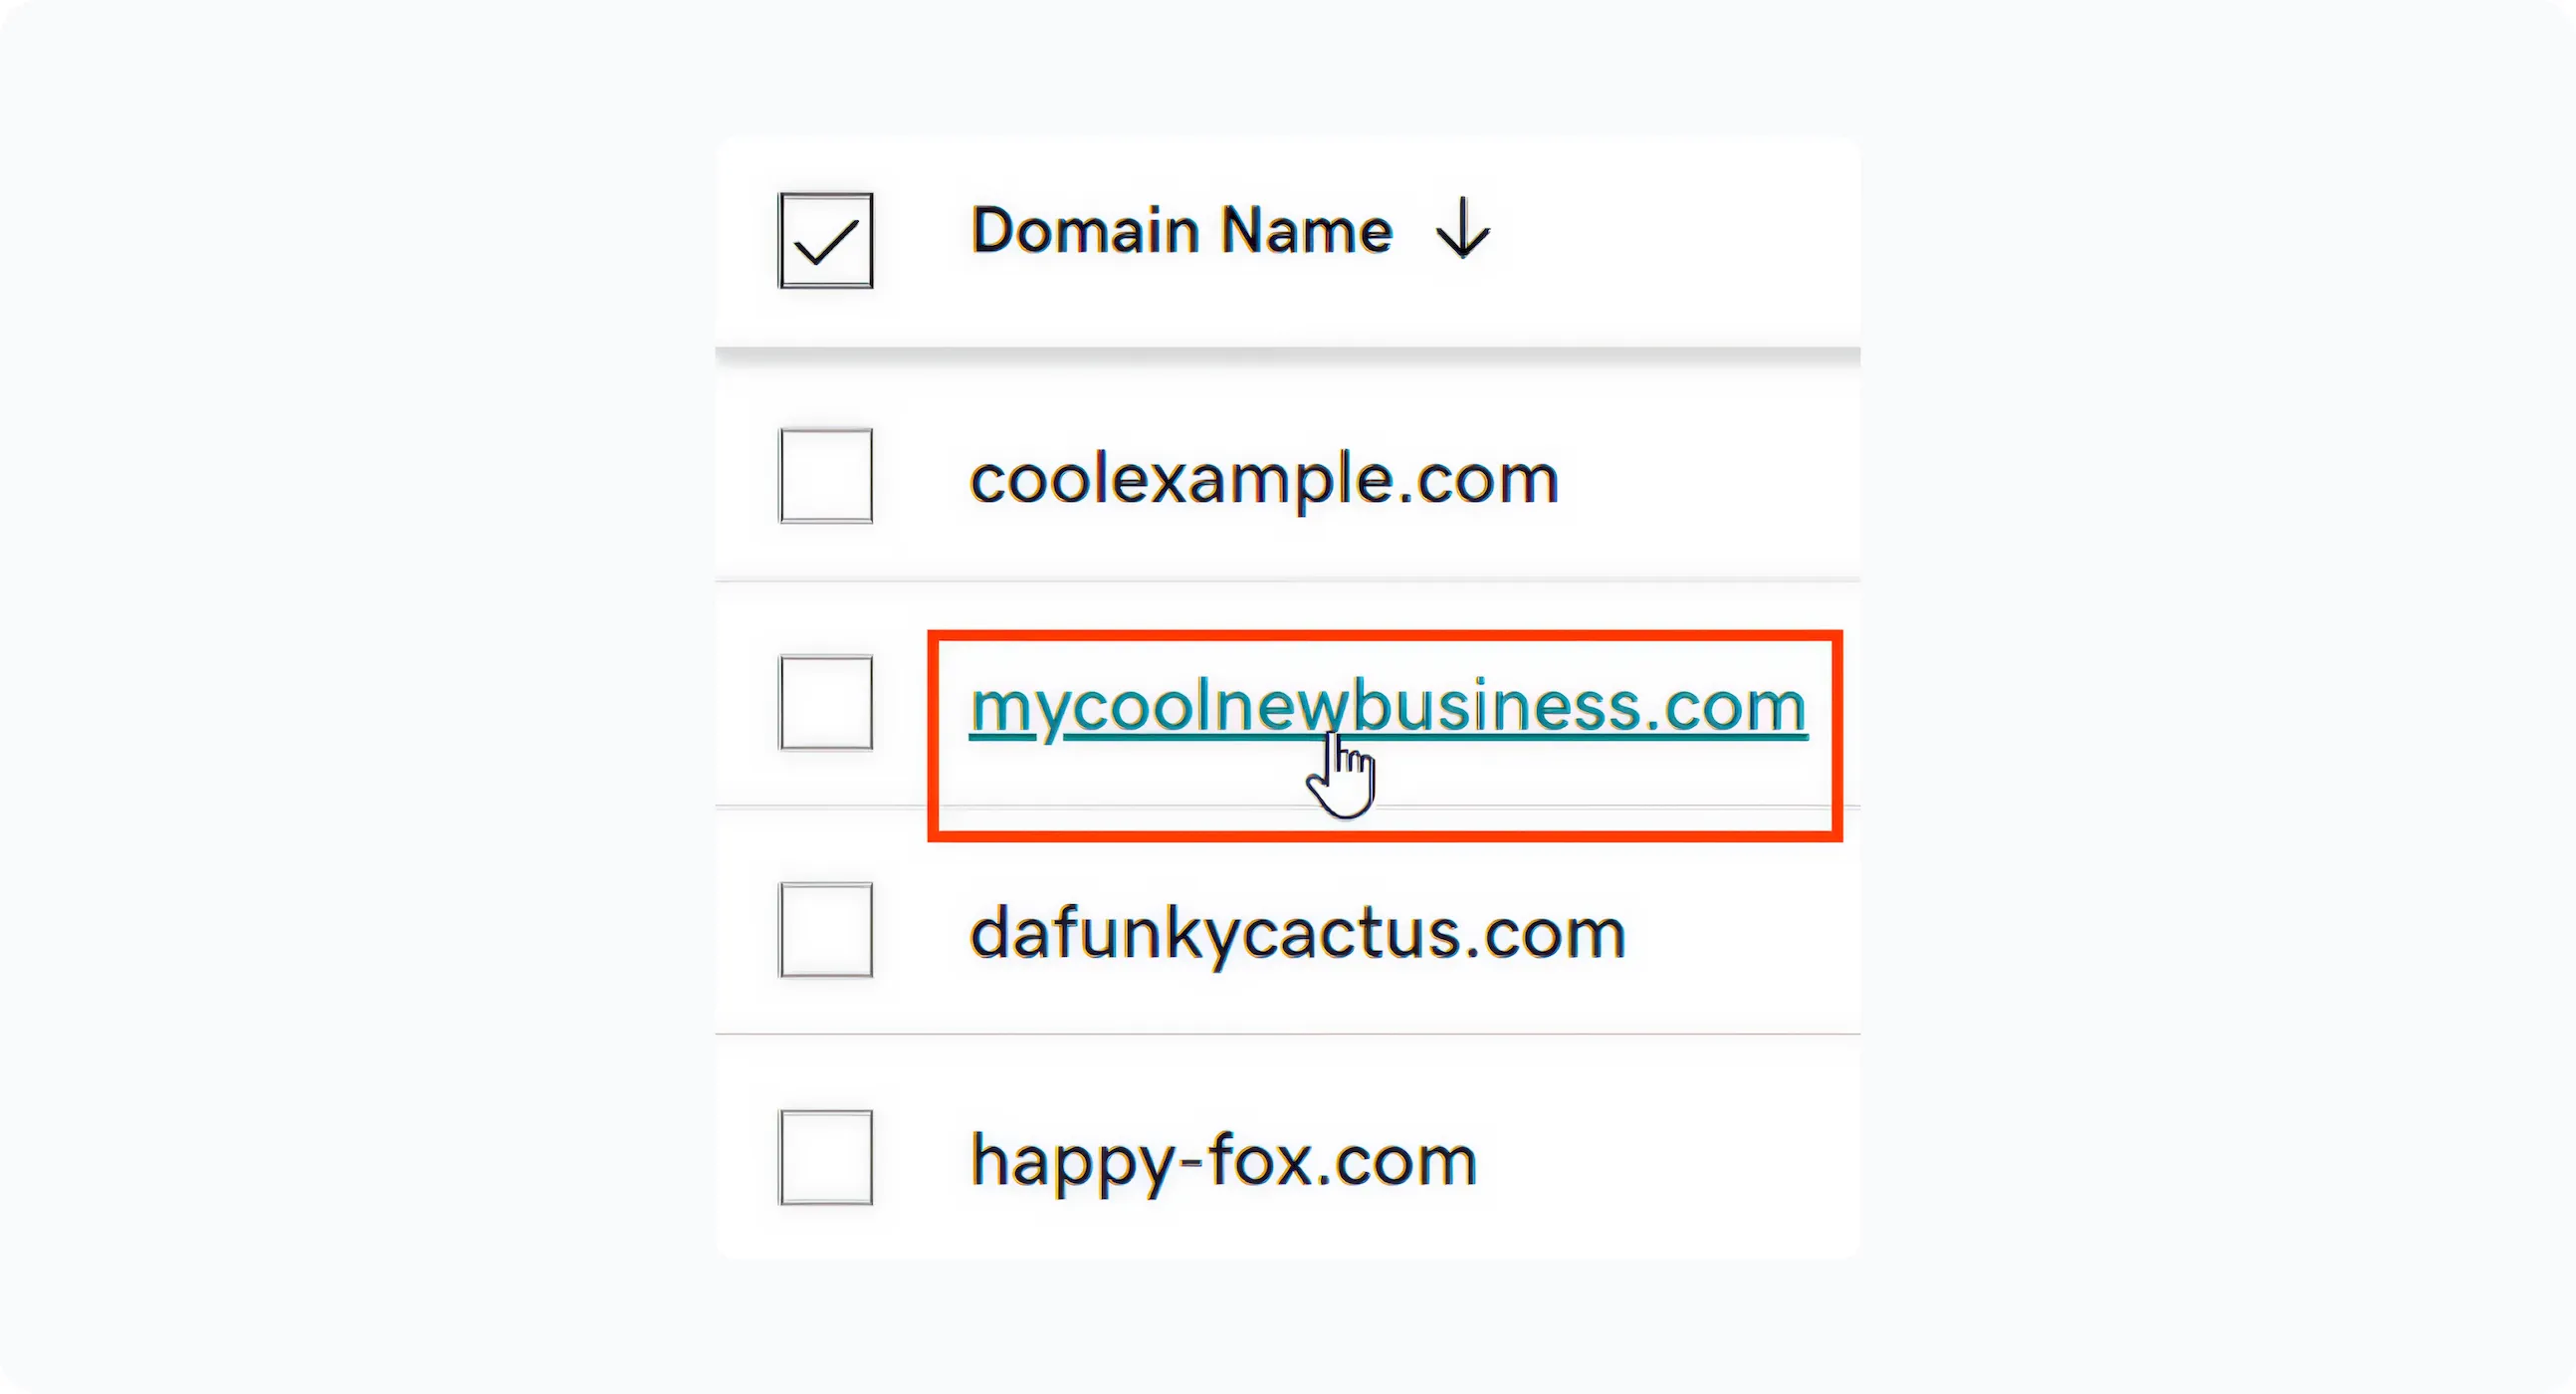
1. From your Shopify admin, go to Settings > Domains.
2. In the Shopify-managed domains section, click the name of the domain that you want to verify.
3. Click DNS Settings.
4. Click Add custom record, and then select the record type.
5. In the Name field, do one of the following:
This value should follow a similar format to: cloudflare-verify
6. In the TXT Value field, enter the TXT value copied from the admin.
This value should follow a similar format to (all numbers): #########-###########
7. Click Confirm.
8. Inform Nostra that the record has been added to your DNS configuration
DNSimple Steps:
1. Log into your DNSimple portal.
.webp)
2. After logging in, you will be directed to the DNSimple dashboard. Here you will see your domain listings. In this example we have entrustzonelab.com.
.webp)
3. Click on the icon next to your domain name to jump directly to your DNS record. Your DNS record will show as below:
.webp)

4. Click on Add button and select TXT to add a new TXT record.
.webp)
5. Type the below entries according with the values provided by Nostra.
- Name: This value should follow a similar format to: cloudflare-verify
- Value: This value should follow a similar format to (all numbers): #########-###########
6. Click Update Record
7. At this point, your TXT record has been added
8. Inform Nostra that the record has been added to your DNS configuration
Universal Steps:
1. Log in to your DNS server as an administrator
2. Locate the page for updating your domain's DNS records
3. Find the DNS Records Section
4. Add a New TXT Record
- Enter the NAME value provided by Nostra
- Enter the VALUE text string provided by Nostra
5. Save or Publish Changes
6. Verify the TXT Record
7. Inform Nostra that the record has been added to your DNS configuration
Dynadot Steps
1. Sign in to your Dynadot account.
2. Select "My Domains" from the left-side menu bar and then "Manage Domains" in the drop-down.
3. Check the box next to your domain name(s) and click on the "Action" button.
4. Choose "DNS Settings" from the "Action" list.
5. On the DNS Settings page, select the "Dynadot DNS" setting from the top drop-down menu.
6. Under 2. Subdomain Records (optional) enter:
[cloudflare-verify] [TXT] [txt_record_value]
Network Solutions Steps
1. To get started, go to your domains page at Network Solutions by using this link. You'll be prompted to log in.
2. On the landing page, select Domain Names.
3. Select the check box next to the domain that you want to modify.
4. Under Actions, select the three dots, and then select Manage from the drop-down list:
.webp)
5. Scroll down to select Advanced Tools, and next to Advanced DNS Records, select MANAGE:
.webp)
6. You might have to select Continue to get to the Manage Advanced DNS Records page.
7. On the Manage Advanced DNS Records page, select +ADD RECORD:
.webp)
8. Under Type, select TXT from the drop-down list.
9. Add “cloudflare-verify” to the ‘Refers to’ field and add the TXT Record value, provided by Nostra, to the ‘TXT Value’ field:
.webp)
10. Select ADD


